INSTALL GUIDE
Plan your mounting points, set them at the right distance, and tension your sail the way the pros do. Most 4-corner sails go up in an afternoon with two people.
SUGGESTED MOUNTING DISTANCES
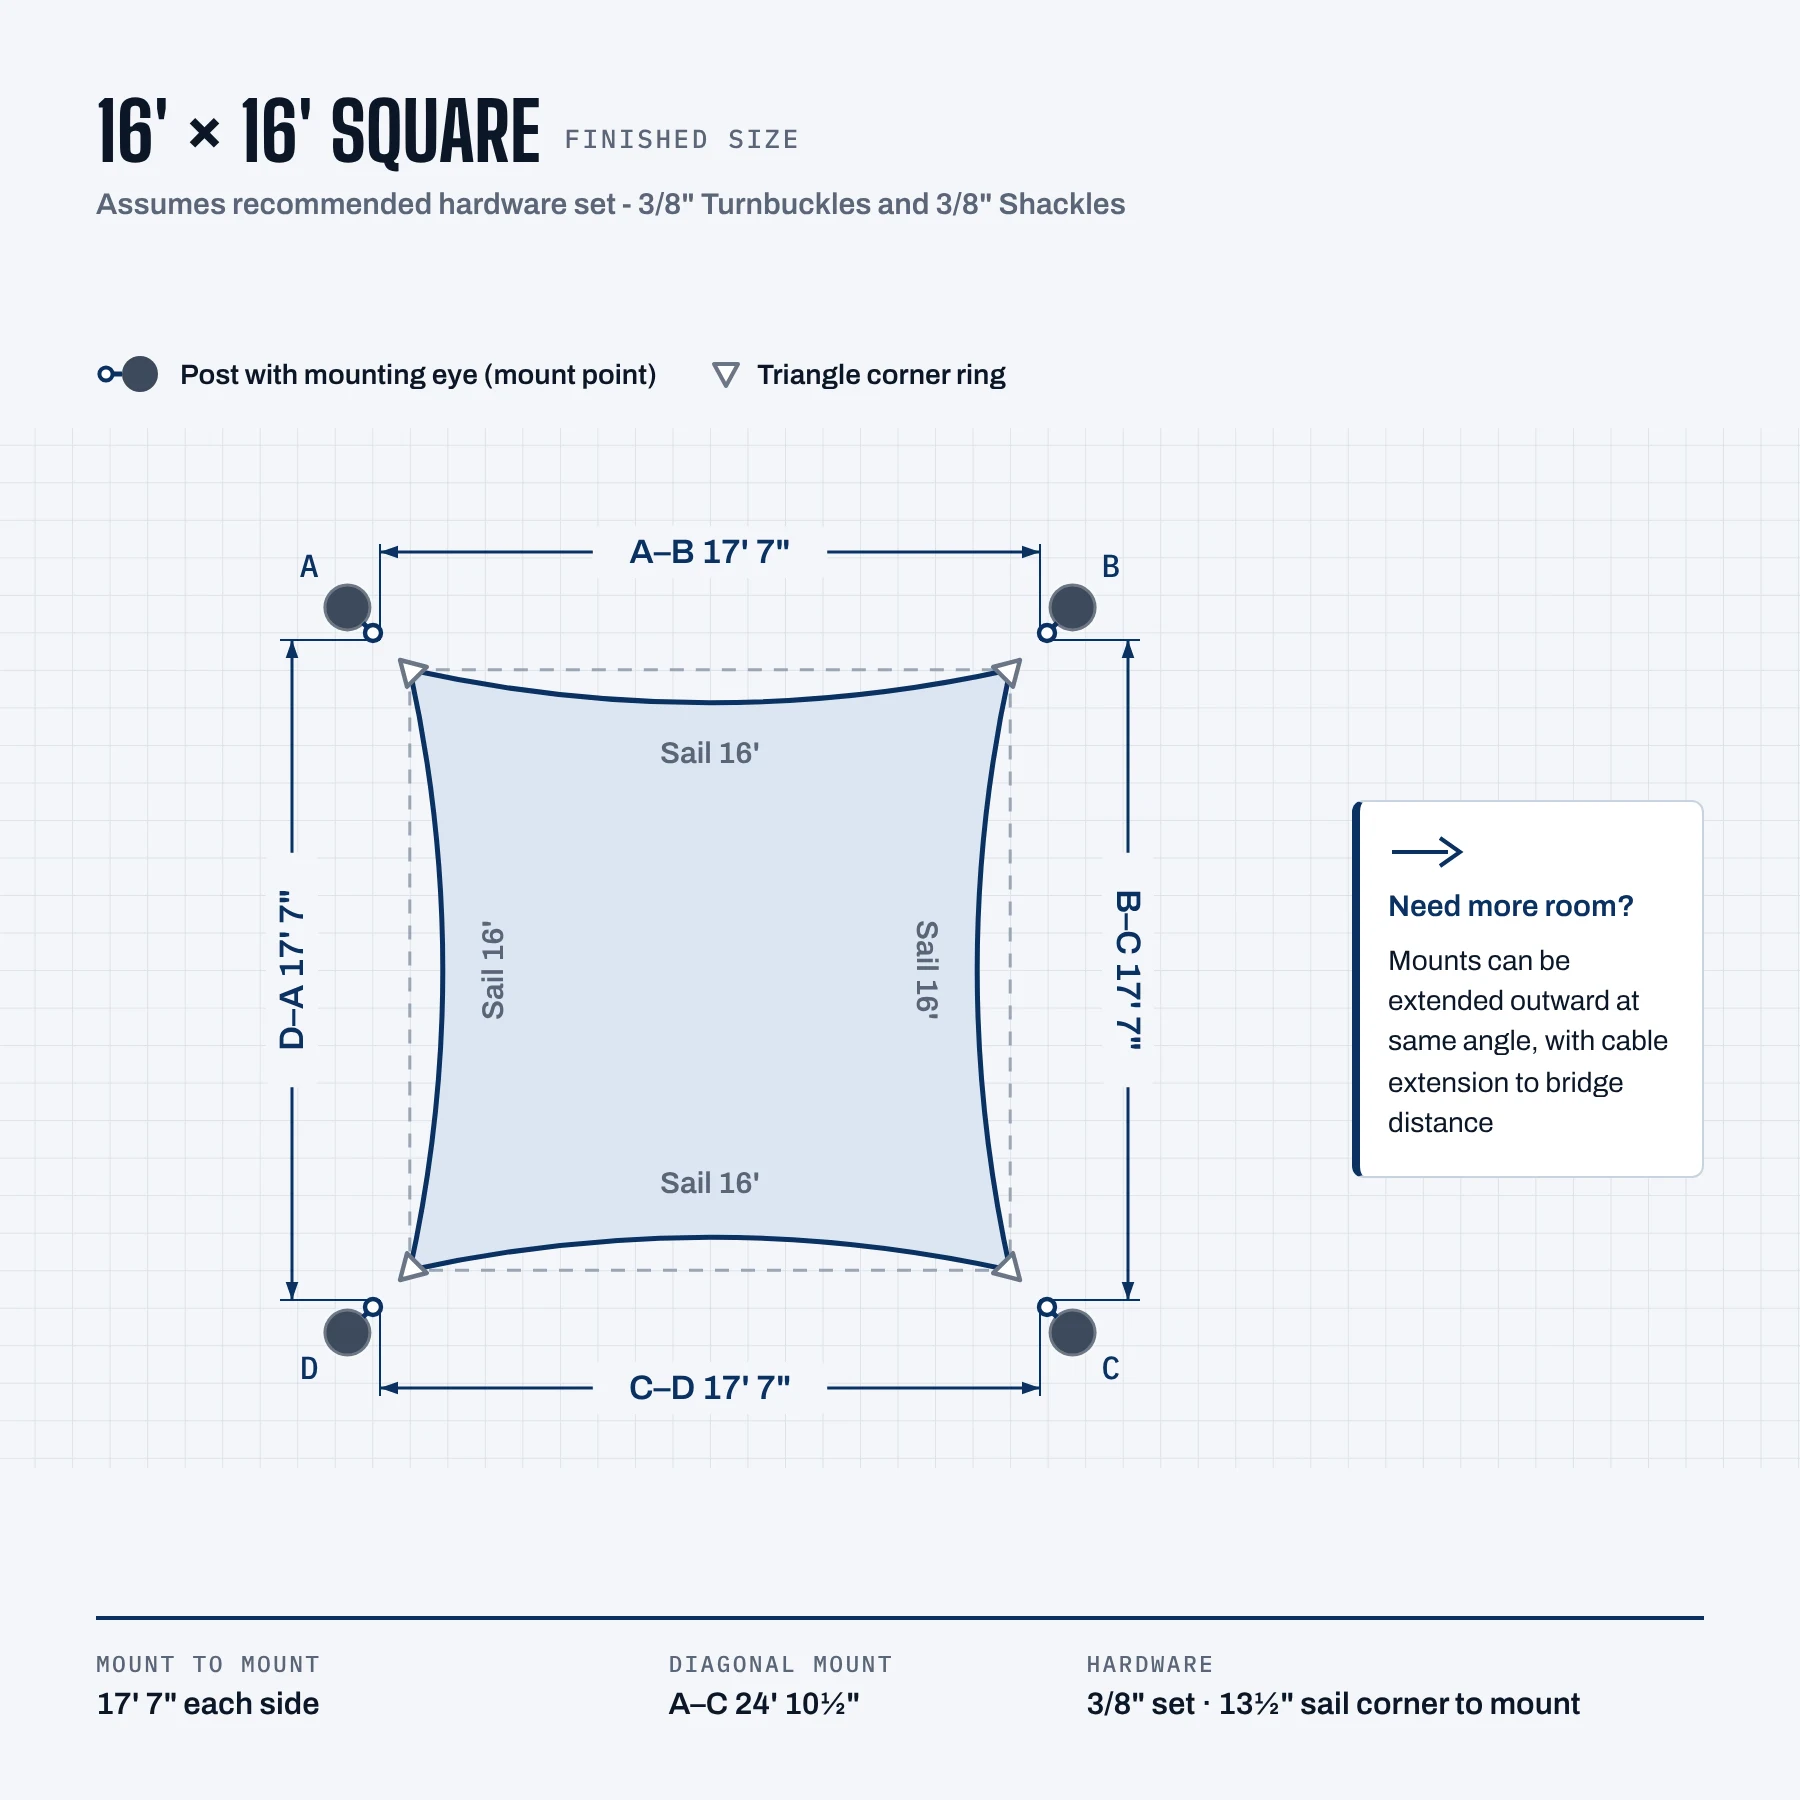
Our sails are sold by finished size. Your mounting points sit farther apart than the sail, so the hardware has room to attach and tension. Every sail's page shows its own diagram.
MOUNT TYPES
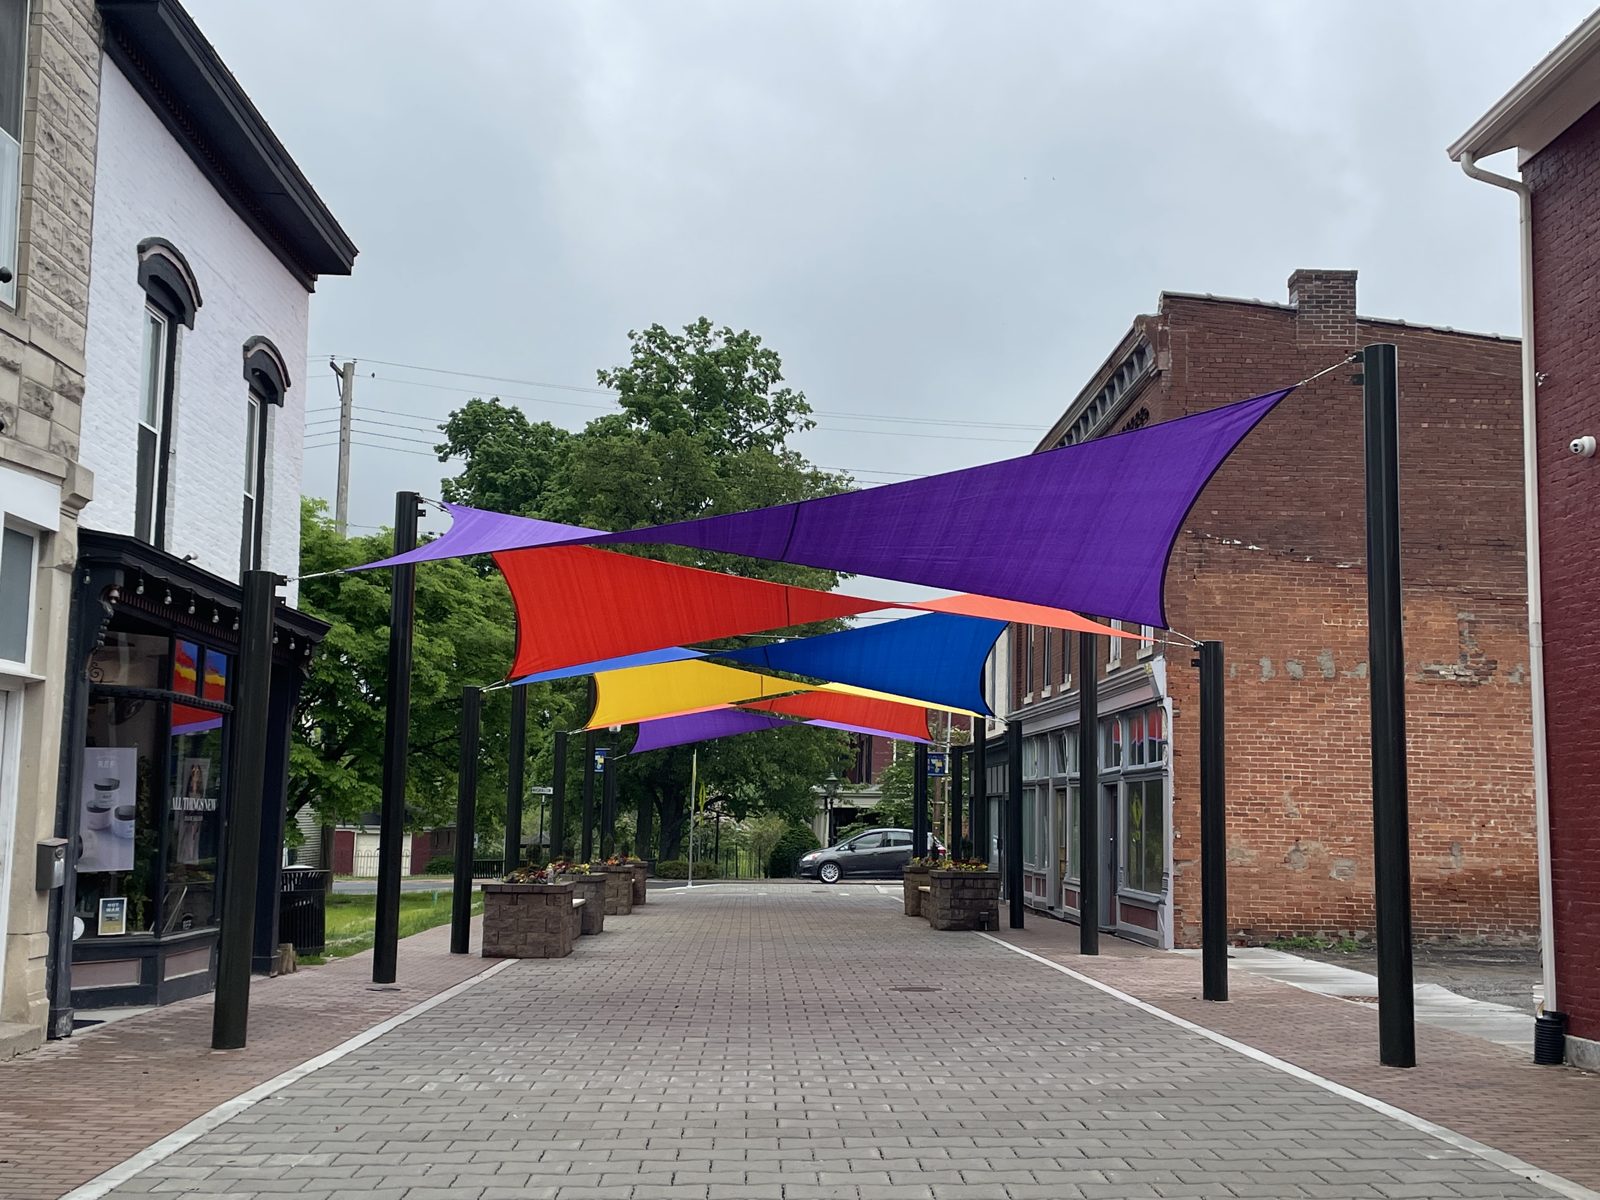
Every corner needs a solid point to pull against: a pole or post, a beam, or a wall.
Poles & Posts
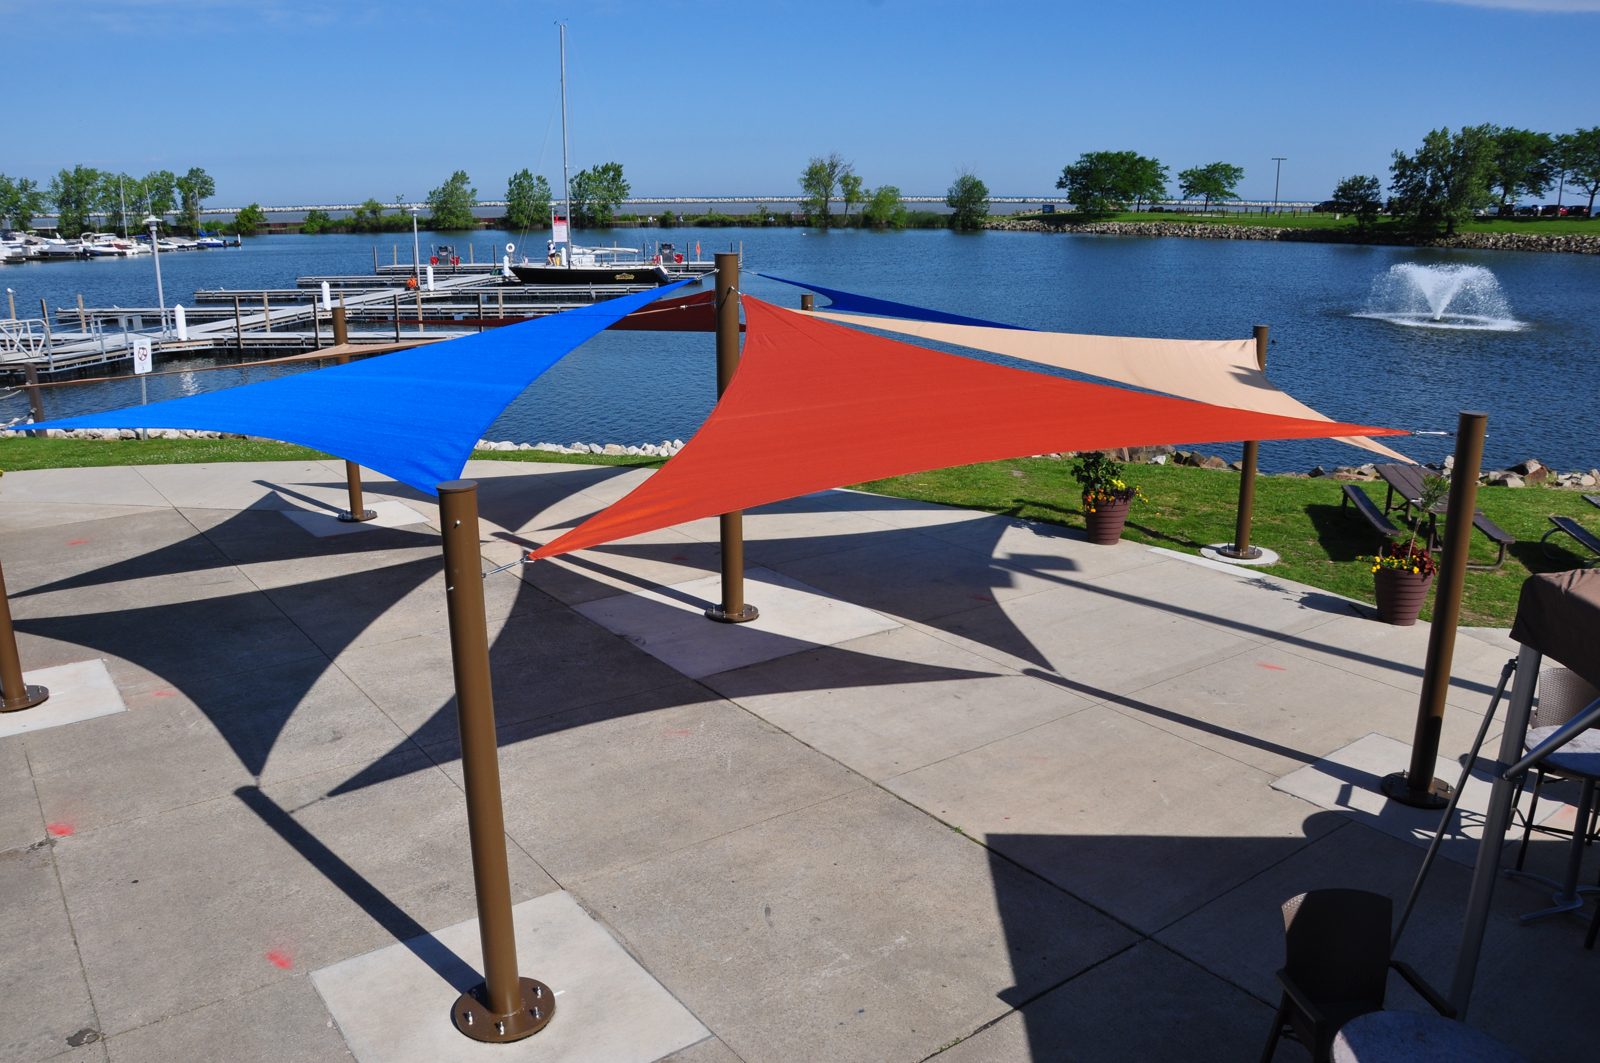
Shade sails exert tremendous force on their posts, especially during medium to high winds. Size your posts and footings for that load, not just for the sail's weight.
Mounting Hardware
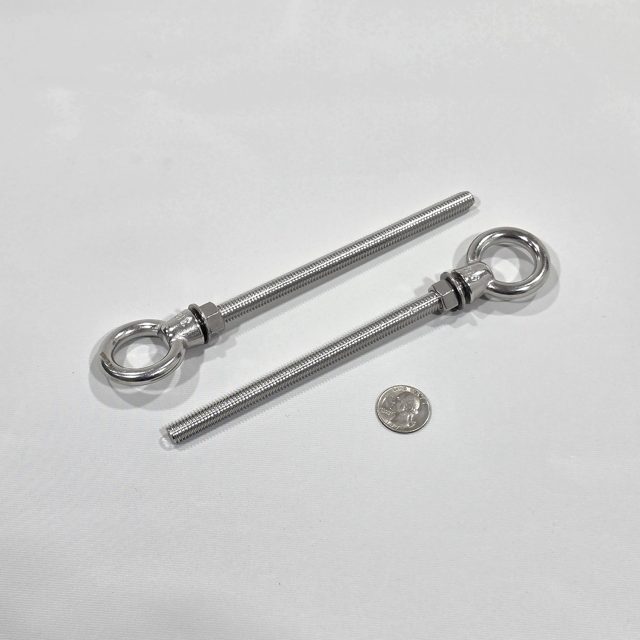
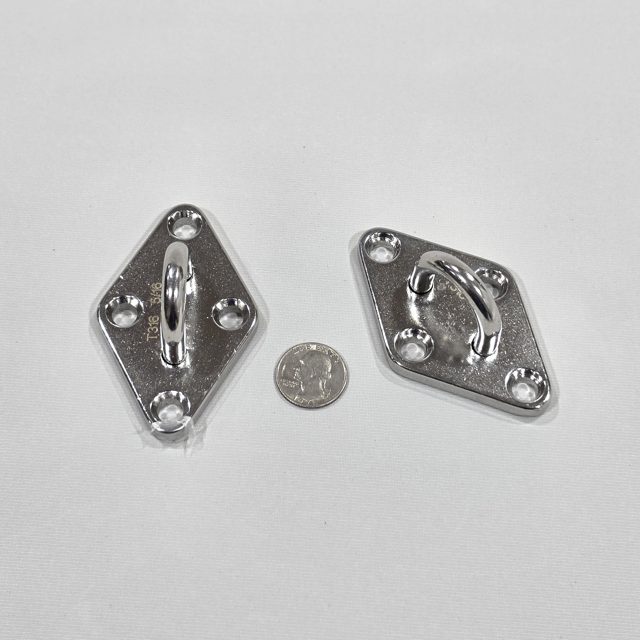
ENSURE ADEQUATE TAKE-UP
Take-up is the distance the hardware covers between the sail's corner ring and the mount. Plan for it before you set posts.
Take-up is required to compensate for the small amount of stretch every sail has over time. Turnbuckles need room to keep tightening down. Over the years, shackles or extra lengths can be removed to "reset" the turnbuckle distance and keep the sail taut.
| Turnbuckle set | Sails | Sail corner to mount |
|---|---|---|
| 5/16" set | Under 15 ft (longest side) | 11¾" |
| 3/8" set | 15 ft to under 20 ft | 13½" |
| 1/2" set | 20 ft and up | 16½" |
INSTALLATION STEPS
With mounts in place, hang and tension the sail. Check tension again after the first windy week.
- Prepare the hardwareOpen each turnbuckle fully, then attach the shackles and any other hardware (chain, cable, links) to it.
- Lay out the sailUnfold the sail under the mounts and decide its orientation. Hems face downward. A sail left out on a hot surface may shrink slightly from the heat. This is normal, but it can make the sail harder to install.
- Attach the cornersConnect the sail to the hardware, starting with the most difficult corner to reach. Don't tighten anything yet.
- Pull in the last cornerSecuring the last corner can take substantial force. Use the small rope supplied with your sail to pull it in; a ratchet strap or come-along can help.
- Lubricate and tensionApply anti-seize lubricant to all turnbuckle threads. Then tighten each turnbuckle a few turns at a time, working around the sail, until the fabric is taut and edges don't flap. Don't over-tighten one corner.
- Lock it downTighten the jam nuts on each turnbuckle, then apply tie-wire through each turnbuckle to keep it from unwinding. Turnbuckles unwinding is very common, and without tie-wire it leads to turnbuckle failure.
- A helper
- Ladder
- Two adjustable wrenches
- Pliers (for the tie-wire)
- Tape measure
- Optional: ratchet strap or come-along for the last corner
FAQ
Answers to the questions we hear most, by topic.
Sizing & fit
Is the listed size the sail or the space?
The finished sail, corner ring to corner ring. Mount-to-mount distances are larger; see the diagram on each sail's page.
Why are the edges curved?
Each edge is cut with a curve so the sail tensions evenly and doesn't flap. The shaded area is a little smaller than the listed size.
My space doesn't match a standard size.
Choose a sail smaller than your mount layout and bridge the gap with chain or cable, or order a made-to-measure sail from Custom Shade Sails.
Hardware & mounting
Which turnbuckle set do I need?
It's sized by the sail's longest side: 5/16" under 15 ft, 3/8" from 15 to under 20 ft, 1/2" at 20 ft and up. Each sail's page suggests the right set.
Is mounting hardware included?
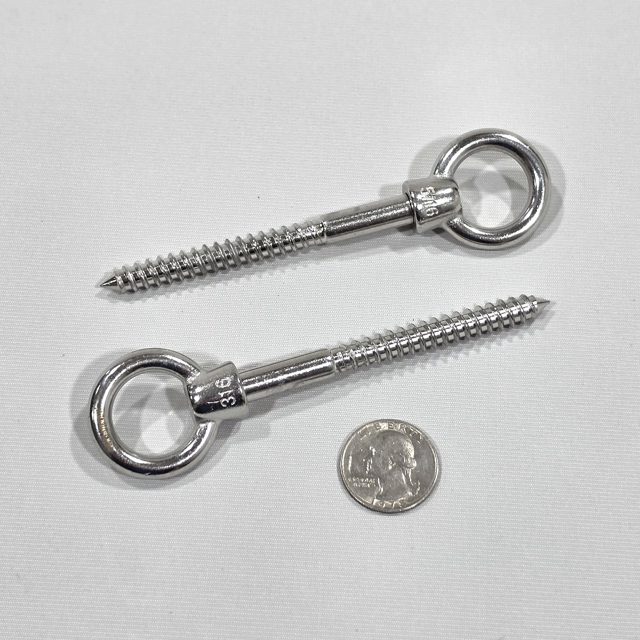
Turnbuckle sets include the turnbuckle and two shackles per corner. Pad eyes, eye bolts and screws are sold separately.
Can I use my own hardware?
Yes. Plan your mount distances around your hardware's take-up, and use stainless steel rated for the load.
Installation
How tight should the sail be?
Taut enough that edges don't flap or sag, without straining the corners. Flick each edge: it should feel firm and about the same on every side.
Do I need a professional?
Many customers install their own. Get a contractor or engineer to check posts and footings if you're unsure of their strength.
Can I install over a pool, grill or fire pit?
Keep sails more than 6 ft above pools to limit chlorine exposure, and never over open flame, grills or heaters.
Weather & care
Are the sails waterproof?
No. Solamesh and DualShade are breathable knits that let hot air escape. Slope sheds light rain, but water passes through.
Should I take it down in storms?
Yes. Remove the sail when high winds or storms are forecast, and for winter wherever snow or ice is possible.
How do I clean it?
Mild dish soap, water and a soft brush, rinsed with a garden hose. No bleach, solvents or pressure washers.
Orders, shipping & warranty
How fast does it ship?
Sails ship within 3 business days. Shipping is free on orders over $100.
What's the warranty?
10 years on Solamesh and 15 years on DualShade against UV degradation. Flame, chemicals, storms, snow and improper installation aren't covered.
Can I return a sail?
Within 30 days, unused and like-new. Sails carry a 15% restocking fee, waived when you exchange for a different size. You pay return shipping.
Still have a question? Email orders@americanshadeworks.com.